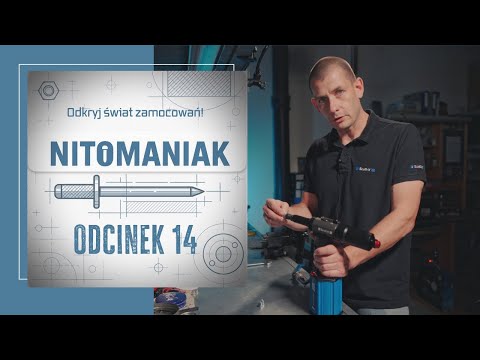
공압 유압 리벳터Scell-It
E-312NP


가격 및 위치
- 위치:
- Tarnowskie Góry, 폴란드

기술 세부 사항
- 총중량:
- 2 kg
- 보증 기간:
- 3 개월
- 압력:
- 7 바
제안 세부 정보
- 광고 ID:
- A22109818
- 참조 번호:
- E-312NP
- 업데이트:
- 마지막 업데이트: 12.06.2026
설명
Nose/Mandrel Replacement:
Detailed instructions for replacing the nose and mandrel can be found in our comprehensive operating manual. If you intend to use self-clinching nuts of different diameters, it will be necessary to change the nose, mandrel, and adjust the tool accordingly. Consult the instructions to learn how to make these changes and adjust the mandrel length to the size of the self-clinching nut.
Self-Clinching Nut Installation:
After performing the startup procedures and adjusting the stroke, insert the self-clinching nut into the pre-drilled hole.
Place the mandrel in the self-clinching nut and press the tool. The mandrel will automatically seat itself in the self-clinching nut.
Press the tool trigger to clamp the self-clinching nut onto the component.
The release will occur automatically after the self-clinching nut has been clamped onto the component, allowing you to release the tool.
If the tool is not released from the self-clinching nut, press the button on the back of the tool to force the release.
Stroke Adjustment:
The tool stroke must be adjusted to the component on which the self-clinching nut will be clamped. The E-312NP riveting tool allows stroke adjustment from 1 mm to 7 mm. To adjust it, follow the instructions below:
Precise stroke adjustment is crucial for effective self-clinching nut installation. Here are some tips for controlling stroke adjustment: The stroke can be set from 1 mm to 7 mm. The graduated scale on the tool accurately indicates the set stroke. To increase the stroke, move the adjustment slider towards the front of the tool, while simultaneously turning the knob to the left. Then release the slider, ensuring that it is re-seated on the head. The cursor will indicate the range of the set stroke. To decrease the stroke, follow the same procedure, turning the stroke adjustment knob to the right. Our self-clinching nut riveting tool is designed to allow precise stroke adjustment and ensure optimal installation results.
Ijdpfszc Dx Iox Aikjau
If the stroke is incorrectly adjusted or the self-clinching nut has a quality defect, the mandrel release may be difficult. In this case, use the "anti-block rod," which is included in the kit. Insert it into the hole in the base of the sleeve and turn it to the right to release the self-clinching nut, as shown in the illustration in the manual.
이 광고는 자동으로 번역되었습니다. 번역 오류가 있을 수 있습니다.
공급자
최종 온라인: 지난주
등록일: 2026
5 온라인 광고
문의 보내기
전화기 & 팩스

Machineseeker-신뢰의 인증 마크
신뢰 마크란 무엇입니까?
Machineseeker는 선정된 딜러에게 Machineseeker 신뢰 인증마크를 부여합니다. 발급 전에 숙련된 Machineseeker 직원에 의해 표준화되고 철저한 검사가 수행됩니다.
우리는 무엇을 점검합니까?

영업 허가증 또는 상업 등기부 등본의 확인
판매자의
우편 주소 확인
은행 연결의 검증
대표 번호의
전화
접근 가능성 확인
경제 정보
에는 부정적인 특성이 포함되어서는 안 됩니다
구매자 불만
은(는) 인증 마크 박탈로 이어질 수 있습니다이것이 구매자로서 귀하에게 어떤 의미가 있습니까?
Machineseeker 신뢰 씰을 통해 구매자는 직접 검증하지 않고도 매우 높은 확률로 정직하고 성실하게 거래하는 신뢰할 수 있는 판매자를 식별할 수 있습니다.
물론 구매 과정에서 의견 차이가 발생할 수 있습니다. Machineseeker는 Machineseeker에서 활동 중인 구매자 또는 판매자에 의한 법률 위반에 대해 책임을 지지 않습니다.